Friday, September 4, 2020

Gnome For Tea

Hello!!  Eulanda with you today and I'm couldn't stop myself with the gnomes so for my next project I made a shaker card!  😊


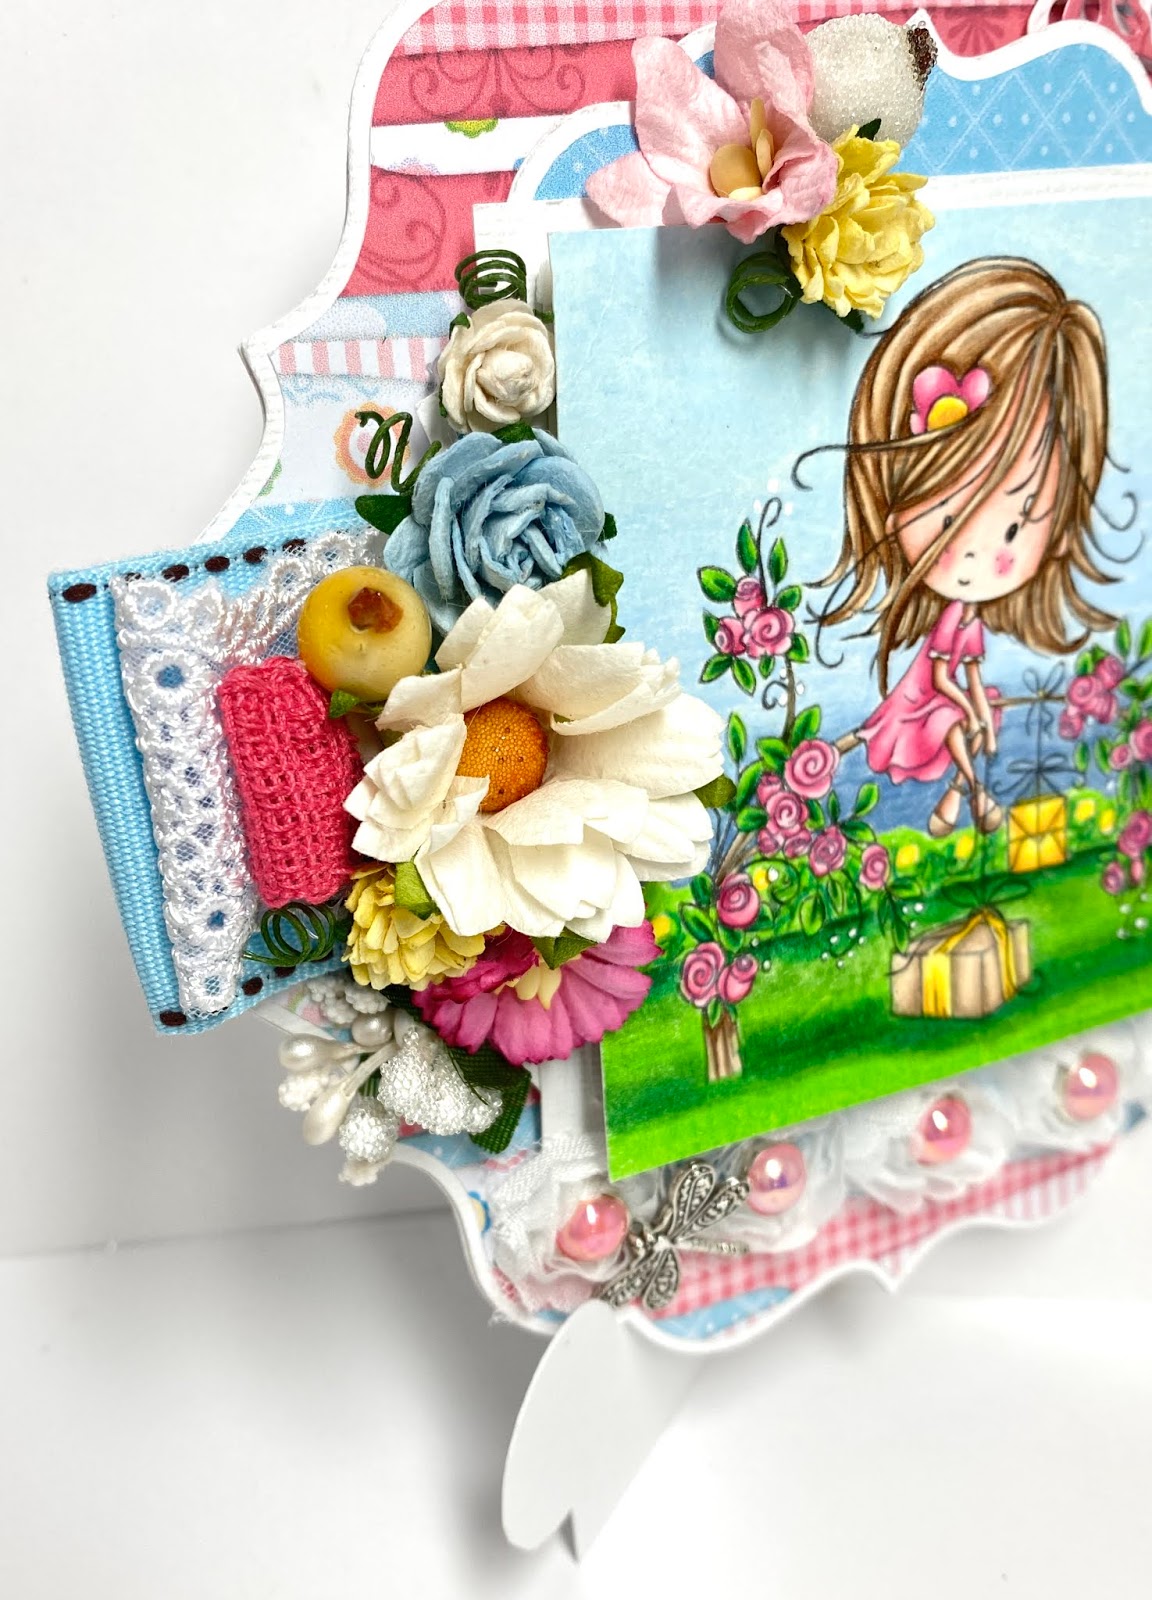
I've coloured this cutie with my copics and then cut him out using my Brother Scan & Cut.  I'm starting to really love that thing!!!  💕  I used my scalloped and stitched die cut for the base of my card and I'm really starting to like that look too!  


This image is called Gnome For Tea and comes with 2 more polymer clear stamp sentiments.  "Hey Gnomie" and "Mush You So Much".  😂😂  So cute!   I also used a stencil from the Timeless Rose collection called Sweethearts Stencil for the inner part of the card, colouring it with Mermaid Lagoon oxide ink.  


I remember years and years ago when I first started card making how shaker cards were "in".  It's nice to see them back again.  Allows us the chance to use up our stock but with all the new shaker items coming out it's awfully hard to stick to using my own stash.  Ok, let's be honest, who does that?  😂

Thanks for stopping by today!
Eulanda

Copics:

R22, 24, 27, 29, 59
BG01, 02, 05, 07, 09
Y11, 15, 17, E35
W3, 5, 7, 9
C00, 1, 3, 5, 7, 9
YG00, 03, 23, 63, 67
E000, 00, 04, 11, 21

Saturday, August 29, 2020

Winnie - Relax

Eulanda here and today I'm sharing my last summer card.  Boooooooo. ☹️... kinda, cuz I do love fall.   😀🍁🍂


Today I'm sharing the Winnie - Relax clear stamp image with you and I've paired her up with fun and bright papers from the Bright & Beautiful 6 x 6 paper pad.

This sentiment is from the Perfect Wishes clear polymer stamp collection, which I cut using a die from the Posydoodle tags set.  I always like to double layer my sentiments just for more layering.  I also adhered some sisal under the sentiment, which is kind of like of like a dyed coconut fibre.  Adds so much by doing so little.  And what do you think about those fun coloured clouds?!!  I've used distress oxides and the the clouds from the Great Outdoors stencil.


I just wanted to share this pic so you could see the glitter on the chipboard butterflies I have in my stash.  I coloured them white first and then added some Stickles.  Supa cute don't you think?!


Here I've cut one layer of the Delicate Daisy Border but now while I'm looking at it, it gave me an idea for next time I think I'll cut 2.  If you position them right, it should make it look like you have a drop shadow.  Hmf...cool!!  LOL!   On top of the border I cut multiple flowers from the Daisy Cluster dies, spritzed with water, crumpled up, let dry, then take apart a bit to layer them on each other for a fuller flower.  I've added some pearls to the centre and voila!!  Fini!!  


So are you finished with summer and ready for fall?  We hardly had a summer to speak of as it was late and abnormally cool.  Many people are saying their gardens didn't fare well and lots of items are late this year.  Well, that's all ok as long as I get a really looooonnnggg fall.  LOL!!

Thanks so much for stopping by!  💕
Eulanda

Copics:

G14, 07, 28
RV19, 09, 06, 04, 02
C00, 1, 3, 5, 7, 9
YR09, 07, 04, 02
E29, 25, 21
Y38, 17, 15, 11
B37, 34. 32

Friday, August 14, 2020

Winnie Gifts Galore

Welcome to today's post where I am sharing a video on how to use scrap ribbon!!  I always have little pieces that are super pretty but useless, however, I'm a crafter so I hoard...I mean collect!!!  😂😂


I've used papers from the summery Winnie Sunshine Delights 6" x 6" digital paper pack and printed with Ultimate Graphic 160gsm paper.   If you haven't tried this paper yet OH MY!!  Don't wait another moment!!!  There is no need for any editing as it prints color beautifully.  

I love having butterflies of any shape and size on my card so the Butterfly Trio - 3 craft cutting dies are perfect as there are 3 available options in the package.  There are sooooo many different ways of using them.  I like to layer mine so I've layered this with some white (which you can see better in the top pic) and then topped off with a heart gem from my stash.  I also snuck in a seam binding bow to finish if off.


I love this gorgeous Winnie "Gifts Galore" clear polymer stamp and it stamped just beautifully, like all of them always do.  I coloured using my Prismacolor pencil crayons and have listed the combo's below. Here is a closer look at the layered ribbon embellishment stack.  Sometimes we overthink pieces on our card (well I know I do) and it can come down to something so simple yet perfect!  😀


I added 3 LED lights to this card and added the "on" switch at the base of the tree.  If you follow me, you know how much I luuuuv my lights!! 💕   They aren't hard to add and don't take a lot of time.  I do have a video on my YouTube channel to show how to add these but I will be adding more.


I hope you've enjoyed this little cutie card.  Do you think you might give the ribbon stack a try?  It felt really simple to share this technique but sometimes when I see something easy I do the 🤦🏼‍♀️ (palm to forehead) thing and in my mine I'm thinking "wow so easy, why didn't I think of that?"

As mentioned above here you go!


Hope you and your family are all well and staying safe!
Sending out warm hugs to you all!
Eulanda

Prismacolors

Sky Blue Light, Powder Blue, Periwinkle
Spring green, Apple green, Grass Green, Dark Green
Deco Yellow, Canary Yellow, Sunburst Yellow
Deco Pink, Pink, Magenta
White, Light Peach, Peach, Burnt Ochre, Chocolate

Friday, June 26, 2020

Winnie Sunshine Delights

For the start of my card I decided to do a slimline card so I could make it look like a party was going on.  🕺🏻  LOL!!  I printed one of stunning design papers from the Eden Collection on Ultimate Graphic 160gsm paper.  This paper is ASTOUNDING!!  I insert the pages into a Word doc and I don’t edit anything.  Just print it, as the color looks gorgeous on this paper.  I highly recommend it! 👍🏻


I love the new Winnie Sunshine Delights Top Banana Bundle 🌞 so much that I wasn’t satisfied with coloring up only one image from this amazing collection so create a scene I did!!  I’ve used Sunshine Delight BouquetSunshine Delight CheekySunshine Delight Cutest and Sunshine Delight Delicious.  If you’re interested in all the pretty gals you can find the whole set here - 10 printable black and white digi images (but honestly, grab the bundle it’s so awesome).  😜


Of course I couldn’t just keep it with the girl images themselves so I added some flowers, bumble bees and butterflies from the Embellishment bundle but guess what?!!  You can buy the whole bundle OR you can buy the embellishment bundle separately which comes with the precolored AND black and white files.  Isn’t that great?!!  😮🤓


I didn’t want to add too many embellishments as I wanted the images to be the main attraction. I added a few flowers and used the Super Sprigs die to add some green leaves. I think this is my new favorite die.  🥰  I’ve used Prismacolor pencils to color on the kraft paper and have to admit I’m super happy with the way it turned out!  

Have you ever colored using pencils or Copics on kraft paper?  Did you like it?

I hope you are all keeping well!!! 
Thanks for coming by!  💕
Hugs, 
Eulanda

Prismacolor Combo’s
Med face color - light umber, beige sienna, salmon pink, beige
Dark face - peach beige, beige sienna, light umber, chocolate, dark brown
Light aqua, aquamarine, cobalt turquoise
Lavender, lilac, parma violet, violet
Spring green, apple green, grass green, dark green
Permanent red, crimson red, crimson lake, tuscan red
Cream, deco yellow, canary yellow, spanish orange
Deco yellow, canary yellow, yellow ochre, goldenrod
Deco pink, hot pink, process red, mulberry


Friday, June 12, 2020

It's All About the Journey

Today I'm sharing a video on how to create some foam flowers using a Polkadoodle's Flower Flourish Die.


I've used this sweet polymer stamp called It's All About the Journey and paired her up with PD's Soft & Scrumptious 6 x 6 paper pack.  I layered the image atop the 


Aren't these white and peach colored foam flowers just so delicate and pretty?


I've added some extra pieces from my stash and popped in a white shabby seam binding bow.


I grabbed this sentiment from Sentimentals 6 x 6 pack and die cut using one of the Posydoodle Tags from that set.  I also add this LOVE bling from my stash. 


And here's my video!!  I hope you enjoy it!
*Well I've just realized the video volume sounds like it has static.  I am working on that to try to resolve the horrible noise.  Urgh!  Love/hate relationship with technology!
Hugs, 
Eulanda


Friday, May 29, 2020

Winnie Big Bunch

Today's card showcases "Big Bunch" from the Winnie Celebrations 1 collection in a black and white image or pre-colored.  You should check out this collection.  WOWZA there are some amazing images, sentiments, awesome digital papers and more!  😮😍


Although this collection has some great papers in it, I chose to play with a newer paper pack called "Timeless Rose" and that pad comes in 6" x 6".  Soooo pretty!!   And Timeless Rose is just yet another amazing collection of crafty stuff including stencils, dies and clear stamps!!  Check it out!!  Eeeeeeeeeek!!  hee hee  When you see a whole collection of items, do you like to have everything or just bits and pieces?


And here are my Foamiran flowers using the Flower Flourish die - this die comes with 6 different layering dies but 2 styles.  I will share a video on this soon so stay tuned for that!  They are fun to use and easy to mix with other flowers you have in your stash.  I love the texture and height they add to a card but then again, that's what my cards are all about anyway.  LOL!!


And just another look at all my goodies:


Thank you for stopping by!  I hope you and yours are keeping safe!
Sending warm germ free hugs,  🤣😍
Eulanda


Copics:

E000, 00, 04, 11, 21, R20
YG03, 63, 67, G99
W00, 1, 3, 5, 7, 9
RV00, R81, 83, 85, 56, 89
C3, 5, 7
Y11, 15, 17, 38
E50, 51, 53, 55