Today I'm going to share with you how to add small details to enhance your cards. 😀
I've used the new "
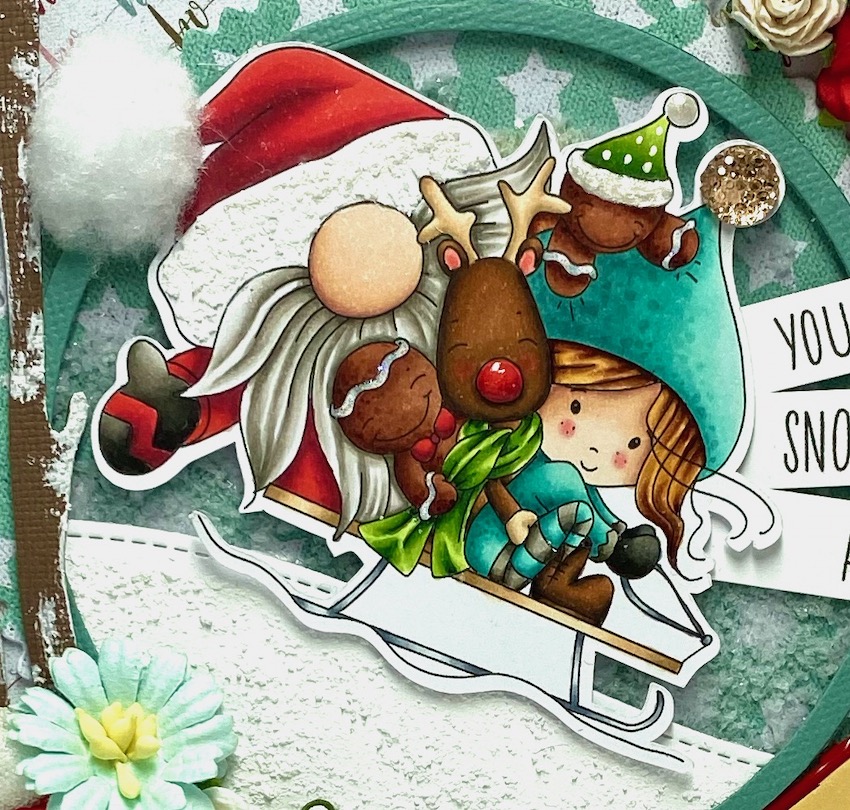
Latte Christmas Tweetings" clear stamp set and started by colouring my images first. Then I positioned them onto my slimline layer to see where I wanted to try and create the dreamy winter scene I had in my head. Most times it never turns out the way I thought it would but this time it did! I was pleasantly surprised!! 😂
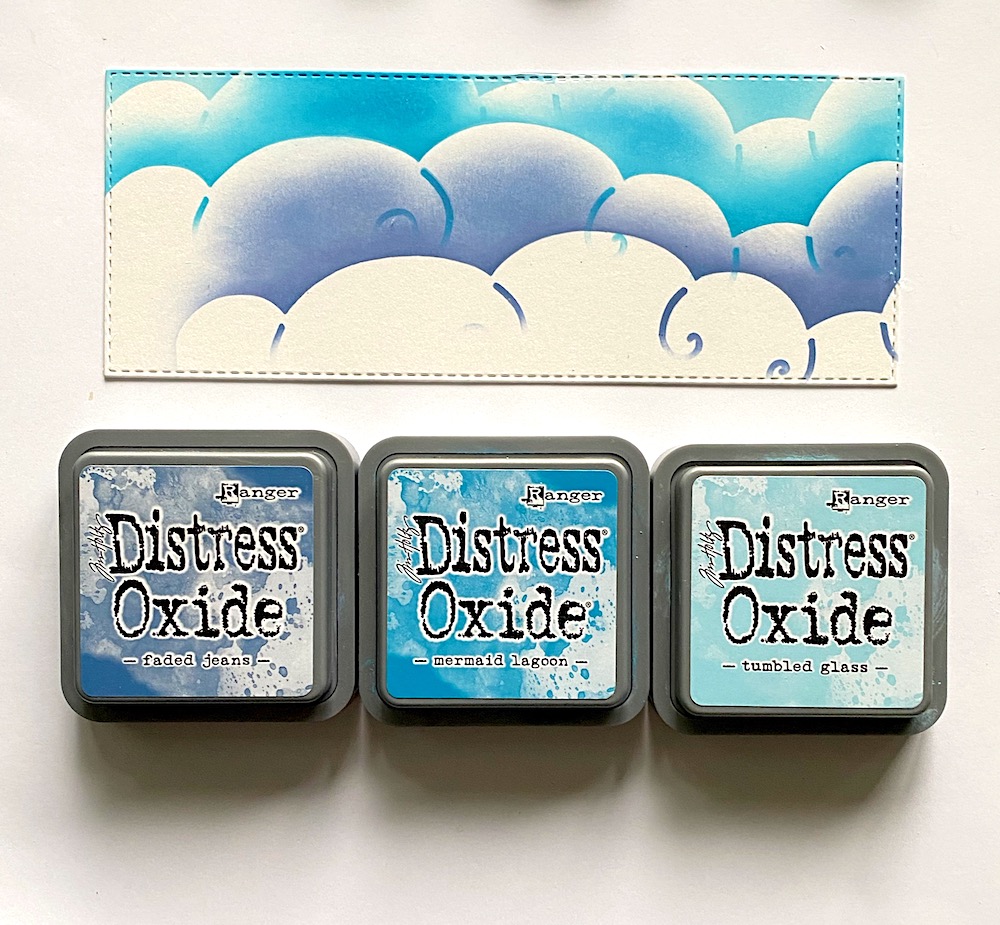
I then used PD's "Snow Clouds" layering stencil and used my distress oxides to create the background. Next I added some white splats using Winsor & Newton's gouache but you can use gesso or paint as well. You could even spray your background with some water for a beautiful effect if you're using the proper paper. Also, consider using black or another colour from your coloured images to add to the sky. The fun thing about backgrounds and spats is they don't have to be realistic so have some fun with that!! You could even make them ahead of time and then colour your images to match your background.
For more details I've added snowflakes but I upped the look on them by using a glitter paper and then popping a sequin on top of it. You could even double up your snowflake for more of a WOW factor if you like.

I created the snowy hillside using glitter paper and that's also another step up from using plain white cardstock. You could even try using plain cardstock and putting it through some kind of embossing folder first.
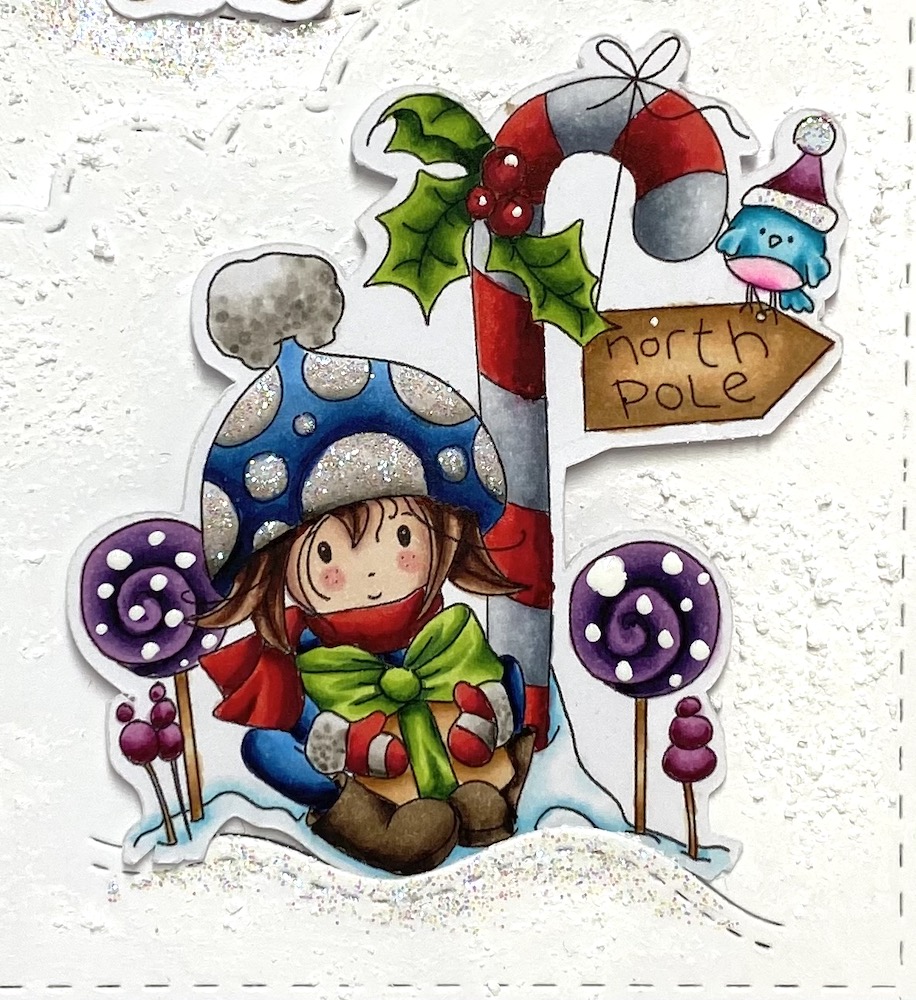
For the images, I've used my copics and I could just leave it at that but this time I chose to add a little pom pom to the little bird on the far right. 😀 I even added some Stickles glitter to the birds hat but sometimes you have to be careful not to touch it on the black ink. I've had where it will bleed a little but to avoid that, you could also use glossy accents and add powdered glitter instead.
I added some liquid pears to the center of the bunny's poinsettia on her hat and liquid pearls to the hat on the bird to the far left. Also when I adhered some of the images I used foam tape and that gives it so much dimensional appeal.
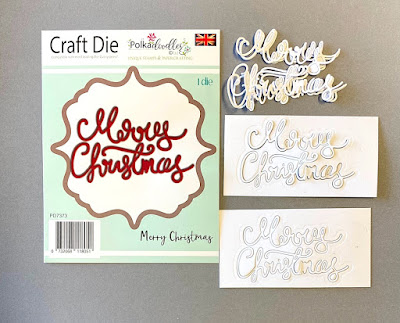
I didn't often use sentiments before my Polkadoodles days but there are so many that accompany these great stamps that I just felt they needed to be on the card somewhere and as you can see, it really did finish off the card. So when you add sentiments, by adding that layer underneath, you have another way to step up your card. Also add 3D foam tape ... add it to everything!!! 😂😂😂
On this card I made a mistake but I wasn't about to toss it into the garbage. Sometimes you can cover something up by using embellishments. Could you see where I made my mistake? I accidentally added too much blue ink to the top under the penguin's hat. When you look at the card overall, do you really see it? Nope! So I covered part of it by placement of the penguin and also the wooden snowflake. A person could have also covered it with a sentiment so don't be in a hurry to junk your work. If the mistake was made off to the left or right, I could have just cut the card down to make it a smaller version!!
So I hope I've given you lots of idea's to enhance your cards with. I'd love to hear what you do to your cards to add extra dimension or texture.
Have a great day and thanks for stopping by!
Hugs,
Eulanda