Friday, December 11, 2020

Winnie Sunshine Delight Coffee

Today I'm sharing a birthday card using the sweet Winnie image called "Sunshine Delight Coffee" because yes, even during winter and Christmas people still have birthdays.  🎂😂


You can buy this image in a black and white or pre-coloured file.  She is cute either way don't ya think?  For my sentiment I used one of the many from the Perfect Wishes clear stamp set.  I love the imprint it leaves, it's so ... well ... perfect!!  😀


I printed out a few pieces of design paper from the Eden Collection - Paper Heaven 1 Craft bundle.  I really enjoy printing off my own papers sometimes and using the Ultimate Graphic paper is perfect for such an occasion.  You don't even have to make any edits, just print! 

I've added some wooden butterflies I have in my stash along with some Wild Orchid flowers. 
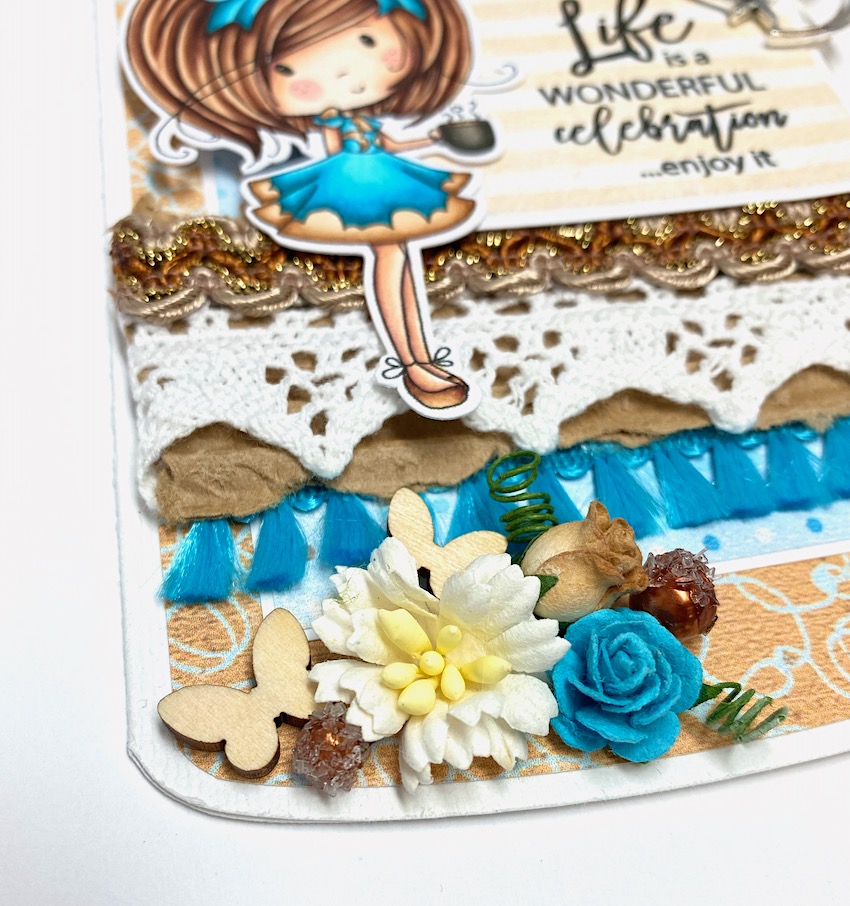

As usual I've done lots of layering but this time I've used the Posydoodles Basic Rectangle dies to help me out.  Oh and did I mention they are on sale?!!  I don't know if you can see it or not but on the very top layer (the piece the sentiment is on) the rectangle die cut some teeny tiny dots.  It's a very subtle look but I love it!  You can probably see it better in the 2nd pic above.


Have you ever used digital papers before?  Where I live, I almost have to.  We don't have a store very close and sometimes it's just super convenient.

Hugs and thanks for stopping by!
Eulanda
_____________________________________________________

Copics:

BG000, 01. 02, 05, 07, 09
E21, 25, 27
E30, 31, 33, 35
E000, 00, 04, 11, 21, R20

Sunday, December 6, 2020

MFT Sketch #518 - Joyous Holidays

Welcome back to another MFT card and today I've used MFT's Christmas Cheer paper and Joyous Holidays stamp set. 


I decided to make a shaker out of the circle element.  Lots of times I look at the sketch first and think of what I could come up all on my own and then I take a peek at the DT projects.  They really do a fabulous job!


I turned my card to get more real estate to create a little fun scene!
How many more cards are you doing for Christmas?  I think I'm almost done for people on my list but I'm not so sure I'm done colouring.  It would be great to get ahead for next year.  Oh who am I kidding?!!  I'm not THAT organized.  LOL!!  

Sending warm hugs!!
Eulanda
_______________________________________________

BG01, 02, 05, 07
E31, 33, 35, 37, 57
E50, 51, 53, 55
C00, 0, 01, 03, 05, 07
YG03, 23, 63, 67
W00, 1, 3, 5, 7, 9
RV63, 66, 69
R22, 24, 29, 59

Friday, December 4, 2020

Winnie North Pole - Production Line

Welcome back!!  Today I'm showing you how to make your sentiments look like chipboard.  I did a tutorial like this last year but I didn't have the great 120lb paper that I've used this year.  


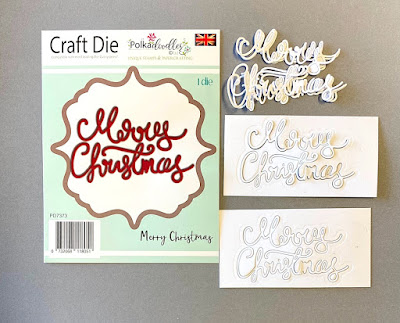
I used this Merry Christmas die and cut it 5 times with 120lb cardstock and then cut a layer of Bazzill navy blue cardstock once more.  When I was finished, I adhered them and stacked layer by layer.  You could do even 3 layers plus your color making 4, and it still looks quite high. 

Here is a closeup view of all my layers.  Each piece is also a lot lighter than chipboard or wooden pieces so even tho they might seem bulky, they're a great weight.


I've coloured on some glitter using a glitter stick and added Stardust Stickles to anything white.


This image is just adorable and she's from the new Winnie North Pole collection called "Santa's Workshop Production Line" which also includes an svg file.  AND!!!!  Yes there's more, you can even buy the pre-coloured image for a quicker card.


I just HAD to add the gum drop!!!  Again, you can see where I've added some of the Stardust Stickles.  I feel like Christmas and glitter are best buddies.  🤣🤣


It is a little difficult to take photo's of the whole slimline card but I LOOOOOVVEEE making them!!  

Hope you and yours are all doing well and staying safe.
Thanks for coming by,
Eulanda
______________________________________________________

Copics:

YG03, 63, 67, G99
V12, 15, 17, 09
R22, 24, 29, 59
Y00, 11, 15, YR23, 24
RV63, 66, 69
C00, 0, 1, 3, 5
B91, 93, 95, 97, 99
E11, 15, 17, 18, 19
E33, 35, 57, 79
E50, 51, 53, 55

Friday, November 27, 2020

Winnie North Pole "Merry From Us All"

Hello again!!  Today I'm showing you how I created a slimline card with texture using the new images from the Winnie North Pole collection.

So now that slimline cards are the latest thing we are having to go to our 12 x 12 papers vs 6 x 6 and guess what?  How fabulous is it to be able to print some instead of worrying about having to have a 12 x 12 sheet.  I printed off a design from the Winnie Winterland Paper Heaven 4 collection but I printed it on some Ultimate Graphic 160gsm paper 8 1/4" x  11 3/4" so I can easily use a piece for my slimline card.

For each of my snow hills, I added some SnowTex for texture.  If you do this, try to apply a thin layer as it will warp your paper if you add a lot.  Honestly, you don't need a lot either to show texture.


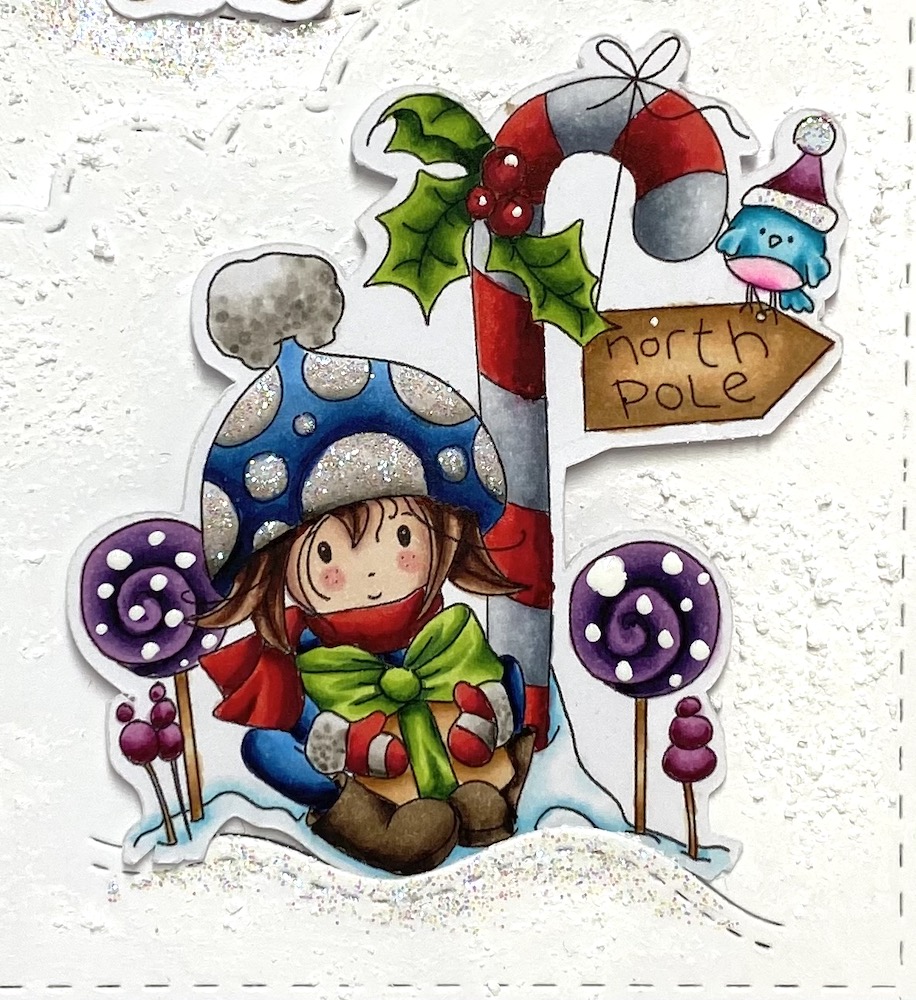
I've coloured all my images with my Copics and it did take a long time but it was so worth it.  This card just came to life when I added the images.  This one is from the new Winnie North Pole collection, actually called "North Pole", also all available in pre-coloured as well.  Oh my gosh the lollipops are adorable wouldn't you say?!


These cutie images are from the same collection called "Gingerbread Basket" and the 2nd is "Christmas Candy".  I had to giggle at the little gingerbread kids.  So cute!!  LOL!  And just to point out, a lot of these come with svg cuts.😀


For the sentiment I used images from the Snowball Kisses set and popped them up using some foam tape.  I've used 2 out of 3 of the Layering Tree die and brushed on some SnowTex and then topped it off with Stickle glitter.


I really enjoyed creating this card but I think I've admitted before that I really do love making Christmas cards any time of year!!

Thanks for stopping by!
Eulanda
___________________________________________________
Copics - A LOT 😂

Y11, 08, 17, E15
C00, 0, 1, 3, 5
E50, 51, 53, 55
B32, 34, 37, 39
E11, 13, 17
E43, 44, 47, 49
W00, 0, 1, 3, 5, 7, 9
RV 22, 24, 29, 59
YG01, 03, 17, G28
V12, 15, 17, 09
RV63, 66, 69
BG01, 02, 05, 07

Tuesday, November 24, 2020

MFT Sketch #516

Just a short little post to share my latest MFT card using "Snow Buddies".  I just started with MFT and been collecting a lot of their new stuff but I've seen this used over and over on Pinterest and elsewhere and just HAD to have it!  So so cute!!  

So I did a distress ink oxide background and added some splotches of white, silver and glitter ... it's sooooooo glittery and pretty in real life! 


I turned the sketch sideways and had a lot of fun with this one.

One thing I loved about this card was the new pink combo.  So super bright and cheery so here's my list of combo's used.  Really probably more for myself than anything.  🤣🤣

Hugs,
Eulanda

V12, 15, 17, 09
E31, 33, 35, 59, 79
RV13, 25, 29, 69
W00, 0, 01, 3, 5, 7, 9, 100
BV20, B0000, 0


Monday, November 23, 2020

Hang on Tight!

Hi there and welcome back!!  Today I'm sharing how to layer a card and my first tip is always to use papers from the same paper pack as they are made to coordinate.   


I always start with my image and I actually count that as one of my layers.  😀😂  Normally I have an image on quite a large piece of paper but lately I've really taken to cutting my images with my Brother Scan N Cut.  Love that thing!!!  

As you can see I have my image, 2 pieces of design paper from "Gnome For Christmas" and one more layer.  (Sorry peeps!  I just realized this paper is out of stock 🤦🏼‍♀️ but there is an amazing new Christmas paper pad called "Christmas Blessings" to check out.)  For my 3rd layer I've made a shaker and added some fluffy snow but then I added my hill and image to the outside of the shaker.  For the hillside I added some Snow-Tex.  Have you ever used that stuff?  It's so much fun and gives a plain piece of white paper so much more appeal! 


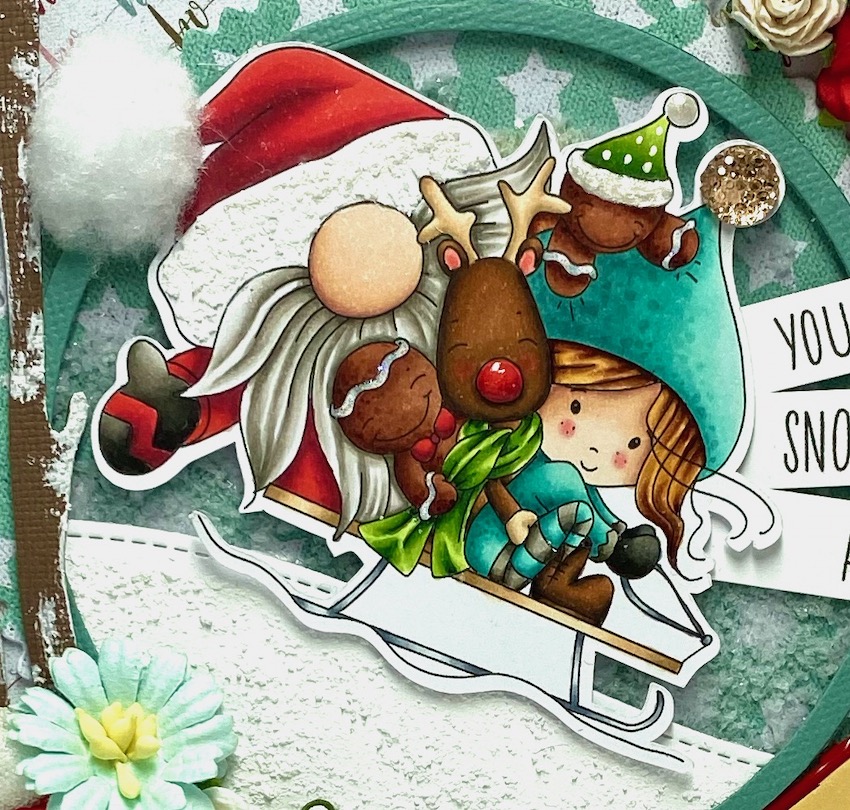
Today I'm using the new image "Hang on Tight" from the Winnie North Pole collection.  SO ADORABLE!!  Again I've used the Snow-Tex but this time for his hat.  Aren't the gingerbread and Rudolph cute too?! 🥰 I added some glossy accents to Rudolph's nose and stickles to the icing on the gingerbread men.


I created a sentiment from the "Christmas Tweetings" stamp collection and cut into 3 cute tags.  What do you think of my little sleigh?!  ha ha ha that was a quick last minute addition and I had to bend it a bit to make it flatter but I thought it was fun!  
 

I've die cut a couple of trees from the "Iced Winter Snowflake Tree Branches" and again, used the Snow-Tex.  And what do you think of my pom pom on Santa's hat?!  😂😂


Are you an embellishment kind of person or CAS?  I have such a hard time with CAS cards and normally take just as long to create one of those as a fully embellished card.  LOL!

Thanks for stopping by today!
Hugs,
Eulanda
___________________________________________________

Copics:

BG10, 11, 13, 18
W00, 1, 3, 5, 7, 9
E13, 15, 17, 19
E33, 35, 57, 79
YR21, 23, E15, 18
R22, 35, 37, 39
E50, 51, 53, 55
YG01, 03, 17, 28