Friday, September 18, 2020

GIVEAWAY and Background Video Tutorial

Today and I have a background tutorial for you using distress oxides so stick with me until the end and I'll share the link with you there.  I also have a GIVEAWAY so you might want to check out the details on that as well!! ๐Ÿฅณ๐Ÿ˜€


I have lots of info to share with you on this card today but first the main actors of this scene are from the  Funky Monsters and Freaky Monsters clear polymer stamps.  Aren't they just super cute?!!!  I've also use the Little Monsters Digi papers, well only one design paper but they are just adorable!!!  There are actually 12 different designs and don't forget to watch out for Digi Chooseday held every Tuesday where there are always discounts on digi items.  ๐Ÿ˜€

ha ha ha these little guys crack me up!  Well the fun thing about a stage like this is that you can colour them anyway you like!!  It's your spacey scene so go for it!!
 

I used this sentiment from the Little Monsters digi messages and what a selection there is!  I am horrible at coming up with words to say inside and out so this makes it so much easier!  

For the clouds I cheated somewhat.  Hee Hee  I traced the Great Outdoors Stencil clouds onto vellum and also glitter paper and then had my Brother Scan and Cut actually cut them.  Now you could also use scissors.  In some cases I'm sure it would be quicker than setting up your machine but I just wanted to share how you could use some of the PD stencils as dies!!


I hope you like my crazy slimline card.  I even added some sticky dots for some planets or ... who knows?!!  Maybe that's what these guys live with up there - floating dots.  LOL!!  I just thought they were fun!  ๐Ÿ˜‚๐Ÿ˜‚

GIVEAWAY

It just so happens that I ended up with an extra set of the Little Monster Freaky Monster clear polymer stamp set!!  SO!!!!  You have 4 chances to win. ๐Ÿ˜ฑ Just leave a comment on as many social media platforms as you like:

Contest closes Sept. 25/20 and winner will be announced Sept. 26/20


GOOD LUCK!๐Ÿ€


And as promised here is my video for the background of this card:


https://youtu.be/01mMmHFwD4Q


I hope you've enjoyed everything today!!
Have a great week!
Hugs,
Eulanda


Copics Used:

BG01, 02, 05, 07, 09
YG01, 03, 23, 63, 67
YR02, 04, 07, 09, 27
V12, 15, 17, 09
RV04, 06, 09, 19


Friday, September 11, 2020

Gnome More Rain Please

Welcome back because today I'm sharing another gnome from the recent super cute gnome set using a stencil for your background sky.  ๐Ÿ˜€๐Ÿ˜


This sweet image is called Gnome More Rain Please!  I've coloured it with my copics and he just popped off the page!  I used both my distress and oxide inks to color the Cloud Landscape craft stencil and Grass Lawn border craft stencil.  I didn't have the proper oxide teal color so had to settle for the distress ink.  Well, let me tell you I rectified that problem immediately!  Guess what's coming in the mail?!!  ๐Ÿ˜‚๐Ÿ˜‚   You might be able to tell the difference but maybe if I hadn't of mentioned it, a person wouldn't notice.  I tend to favour the oxide inks more.  What about you?


I added the "Love You Buckets" sentiment this clear polymer stamp set comes with using a die from the Posydoodle tags set.  Again, I double layered it...I just can't help myself.  ๐Ÿ˜ƒ


For extras, I've layered some ribbon, corregated cardboard and a border die from my stash.  I also added some clear Glossy Accents to any of the rain drops then sprinkled some loose glitter overtop.  I used Stickles for the wooden butterflies.  I find if I use Stickles on a Copic coloured image that the ink tends to bleed.  Has that ever happened to you?  Annoys me!  ๐Ÿคจ  So are you a gnome lover?  They are so adorable!

Thanks for stopping by! ๐Ÿ’•
Eulanda

Copics:

V12, 15, 17, 09
Y11, 15, 17, 38, E19
YR15, 16, 07, E08
YG01, 11, 06, G05, G17
B32, 34, 37, 39
BG10, 11, 13, 18, 09
W1, 3, 5, 7, 9
E50, 53, 43, 47
E43, 44, 47, 49

Friday, September 4, 2020

Gnome For Tea

Hello!!  Eulanda with you today and I'm couldn't stop myself with the gnomes so for my next project I made a shaker card!  ๐Ÿ˜Š


I've coloured this cutie with my copics and then cut him out using my Brother Scan & Cut.  I'm starting to really love that thing!!!  ๐Ÿ’•  I used my scalloped and stitched die cut for the base of my card and I'm really starting to like that look too!  


This image is called Gnome For Tea and comes with 2 more polymer clear stamp sentiments.  "Hey Gnomie" and "Mush You So Much".  ๐Ÿ˜‚๐Ÿ˜‚  So cute!   I also used a stencil from the Timeless Rose collection called Sweethearts Stencil for the inner part of the card, colouring it with Mermaid Lagoon oxide ink.  


I remember years and years ago when I first started card making how shaker cards were "in".  It's nice to see them back again.  Allows us the chance to use up our stock but with all the new shaker items coming out it's awfully hard to stick to using my own stash.  Ok, let's be honest, who does that?  ๐Ÿ˜‚

Thanks for stopping by today!
Eulanda

Copics:

R22, 24, 27, 29, 59
BG01, 02, 05, 07, 09
Y11, 15, 17, E35
W3, 5, 7, 9
C00, 1, 3, 5, 7, 9
YG00, 03, 23, 63, 67
E000, 00, 04, 11, 21

Saturday, August 29, 2020

Winnie - Relax

Eulanda here and today I'm sharing my last summer card.  Boooooooo. ☹️... kinda, cuz I do love fall.   ๐Ÿ˜€๐Ÿ๐Ÿ‚


Today I'm sharing the Winnie - Relax clear stamp image with you and I've paired her up with fun and bright papers from the Bright & Beautiful 6 x 6 paper pad.

This sentiment is from the Perfect Wishes clear polymer stamp collection, which I cut using a die from the Posydoodle tags set.  I always like to double layer my sentiments just for more layering.  I also adhered some sisal under the sentiment, which is kind of like of like a dyed coconut fibre.  Adds so much by doing so little.  And what do you think about those fun coloured clouds?!!  I've used distress oxides and the the clouds from the Great Outdoors stencil.


I just wanted to share this pic so you could see the glitter on the chipboard butterflies I have in my stash.  I coloured them white first and then added some Stickles.  Supa cute don't you think?!


Here I've cut one layer of the Delicate Daisy Border but now while I'm looking at it, it gave me an idea for next time I think I'll cut 2.  If you position them right, it should make it look like you have a drop shadow.  Hmf...cool!!  LOL!   On top of the border I cut multiple flowers from the Daisy Cluster dies, spritzed with water, crumpled up, let dry, then take apart a bit to layer them on each other for a fuller flower.  I've added some pearls to the centre and voila!!  Fini!!  


So are you finished with summer and ready for fall?  We hardly had a summer to speak of as it was late and abnormally cool.  Many people are saying their gardens didn't fare well and lots of items are late this year.  Well, that's all ok as long as I get a really looooonnnggg fall.  LOL!!

Thanks so much for stopping by!  ๐Ÿ’•
Eulanda

Copics:

G14, 07, 28
RV19, 09, 06, 04, 02
C00, 1, 3, 5, 7, 9
YR09, 07, 04, 02
E29, 25, 21
Y38, 17, 15, 11
B37, 34. 32

Friday, August 14, 2020

Winnie Gifts Galore

Welcome to today's post where I am sharing a video on how to use scrap ribbon!!  I always have little pieces that are super pretty but useless, however, I'm a crafter so I hoard...I mean collect!!!  ๐Ÿ˜‚๐Ÿ˜‚


I've used papers from the summery Winnie Sunshine Delights 6" x 6" digital paper pack and printed with Ultimate Graphic 160gsm paper.   If you haven't tried this paper yet OH MY!!  Don't wait another moment!!!  There is no need for any editing as it prints color beautifully.  

I love having butterflies of any shape and size on my card so the Butterfly Trio - 3 craft cutting dies are perfect as there are 3 available options in the package.  There are sooooo many different ways of using them.  I like to layer mine so I've layered this with some white (which you can see better in the top pic) and then topped off with a heart gem from my stash.  I also snuck in a seam binding bow to finish if off.


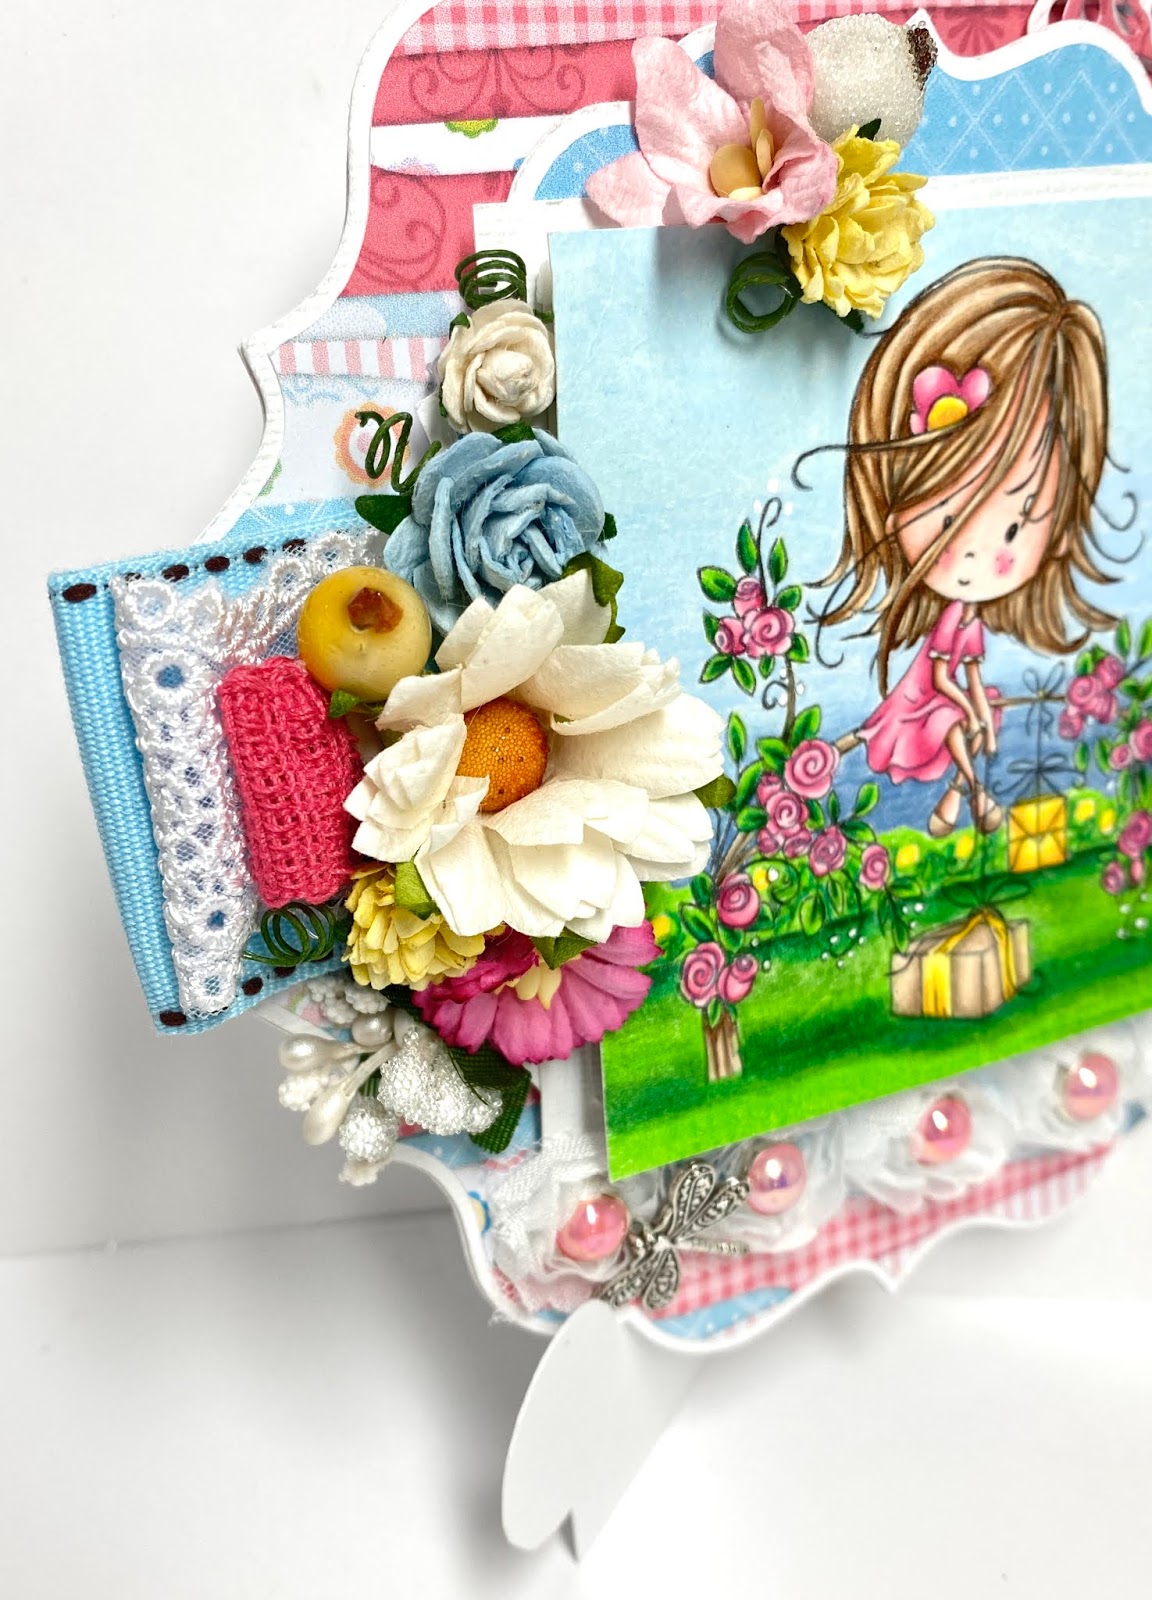
I love this gorgeous Winnie "Gifts Galore" clear polymer stamp and it stamped just beautifully, like all of them always do.  I coloured using my Prismacolor pencil crayons and have listed the combo's below. Here is a closer look at the layered ribbon embellishment stack.  Sometimes we overthink pieces on our card (well I know I do) and it can come down to something so simple yet perfect!  ๐Ÿ˜€


I added 3 LED lights to this card and added the "on" switch at the base of the tree.  If you follow me, you know how much I luuuuv my lights!! ๐Ÿ’•   They aren't hard to add and don't take a lot of time.  I do have a video on my YouTube channel to show how to add these but I will be adding more.


I hope you've enjoyed this little cutie card.  Do you think you might give the ribbon stack a try?  It felt really simple to share this technique but sometimes when I see something easy I do the ๐Ÿคฆ๐Ÿผ‍♀️ (palm to forehead) thing and in my mine I'm thinking "wow so easy, why didn't I think of that?"

As mentioned above here you go!


Hope you and your family are all well and staying safe!
Sending out warm hugs to you all!
Eulanda

Prismacolors

Sky Blue Light, Powder Blue, Periwinkle
Spring green, Apple green, Grass Green, Dark Green
Deco Yellow, Canary Yellow, Sunburst Yellow
Deco Pink, Pink, Magenta
White, Light Peach, Peach, Burnt Ochre, Chocolate